How to Rebuild the Hayward Super Pump
Tools needed:
7/16″ wrench
9/16″ wrench
Rubber gloves
Adjustable channel-lock pliers
Large flat head screwdriver
Parts needed
Seal Rebuild Kit
U.S. Seal Lube
Magic Lube
Optional parts you may need
Impeller (key 16)
Diffuser (key 8)
Seal Plate (key 17)
Remove Motor From Pump
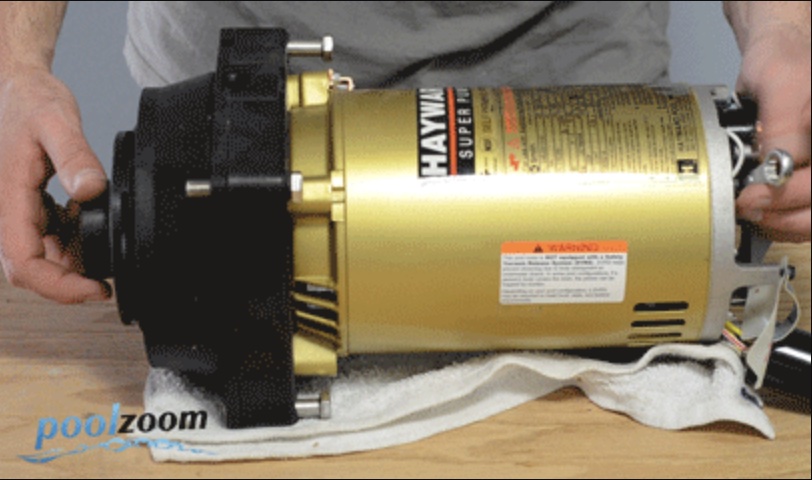
Unbolt motor assembly
Remove motor and diffuser
Removing the Motor Assembly- Loosen the four 9/16” bolts which connect the motor to the pump housing.
Then Remove the motor from the pump housing by sliding it out. Next, Remove the Diffuser by pulling it off or, if necessary, lightly prying it off with the help of a flat head screwdriver. (Note: if the diffuser is not on the end of the motor- it will be inside the pump housing). The Impeller should now be visible.
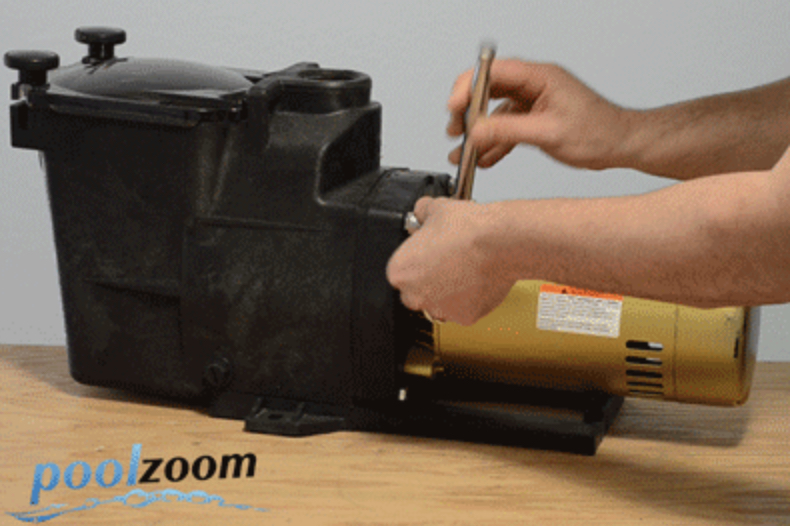
Secure the Motor Shaft. The motor shaft must be secured to prevent it from turning so that the impeller can be unscrewed; To accomplish this you will be sliding the 7/16” wrench onto the flat sides of the motor shaft- Go to the rear of the motor, remove the cover and unscrew the bracket screw holding the large black capacitor in place- (note- leave the capacitor’s wires attached, it is sufficient simply to move the capacitor out of the way). Electrical Warnings- To avoid a possible shock, lay a screwdriver across the two leads to short out the capacitor. ii. Grab the motor shaft with the 7/16” wrench to secure it from turning.
Remove The Impeller
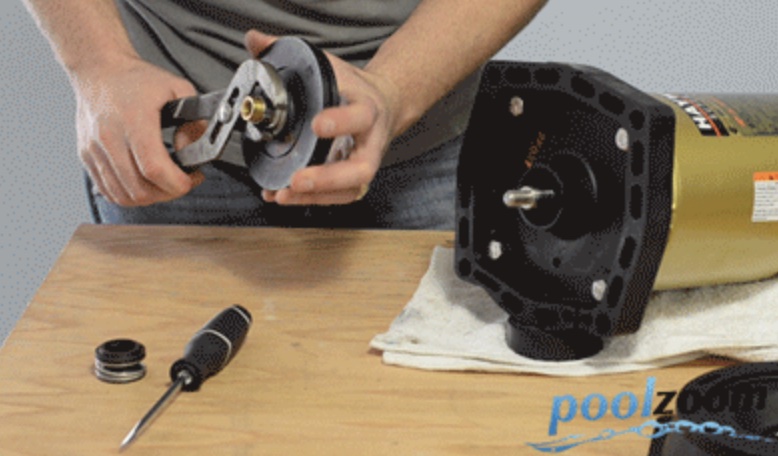
Remove impeller
Remove the Impeller- With the wrench securing the motor shaft to keep it from turning, you can now turn the impeller counter-clockwise to remove. The two parts of the Pool Pump Shaft Seal should now be visible; one part, the white ceramic seal, on the seal plate on the shaft, and the other, the spring-seal, on the pump impeller. Note the way the spring seal is on the shaft, as it will need to be re-installed the same way. Inspect the threads of the impeller, if they are badly worn, you will need to replace the impeller.
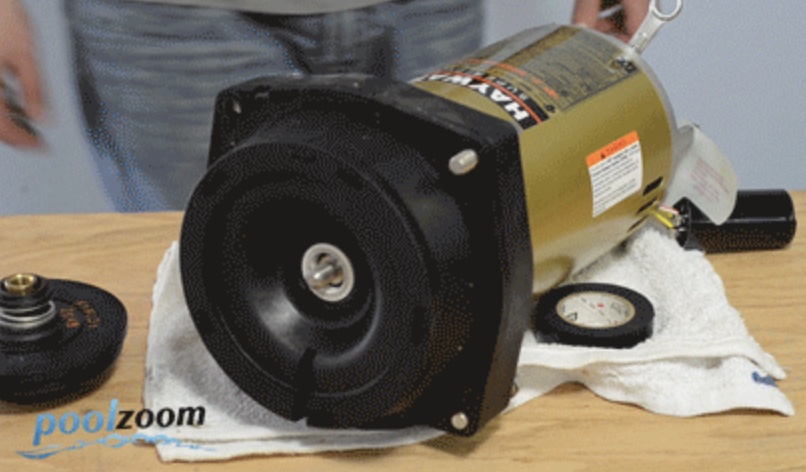
Remove the Old Seal.
The mechanical seal is in two parts. The white ceramic side is in the seal plate, and the black spring side is on the impeller. Now gently remove the seal plate itself, (you may need to carefully pry it with a flathead screwdriver) and push the seal out from the other side.
Remove the spring seal from the impeller side of the pump by grabbing it and simply twisting it off. Be sure the entire seal comes off, including the metal collar (you may need the use of adjustable pliers).
Installing The New Shaft Seal
Install shaft seal
Installing the New Seal-The new seal should also come in two parts. You should wear gloves, so as not to touch the face of the seal. b. The white porcelain seal half should be lubricated on the rubber cup on the ceramic seat and then, then pushed into the seal plate, white-side up. c. The spring seal can be pushed onto the pool pump impeller, black polished surface facing away from the impeller.
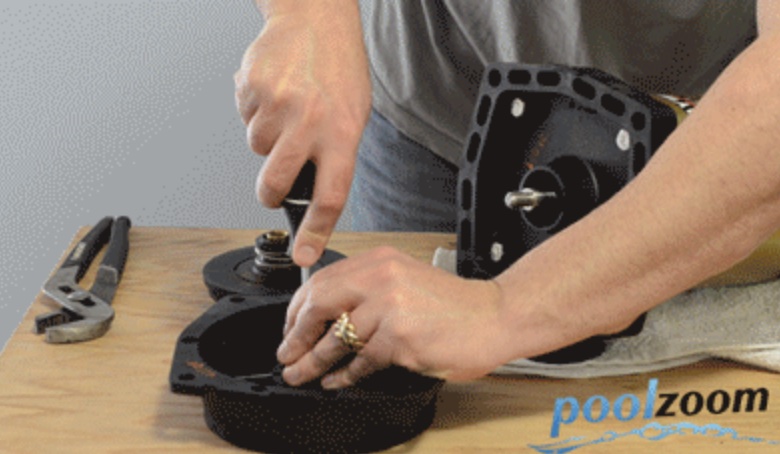
Install Seal Plate and Impeller
Install Seal Place and thread impeller on motor shaft
Replace the Seal Plate and Impeller. Reposition the seal plate back onto the motor. Note the top of the seal plate is labeled “TOP”. Return the Impeller to the Motor Shaft- With the 7/16” wrench securing the motor shaft, hand-tighten the impeller (clockwise). You can now re-install the capacitor and bracket.
Re-installation of the Diffuser and Motor
Re-installation of the Diffuser- Inspect the O-ring on the diffuser, if it is in good condition, re-install the diffuser onto the seal plate. Next, inspect the ribbin gasket located in a small groove around the housing. Then re-place Motor Assembly by slipping the motor assembly with the diffuser into the housing unit. Loosely tighten the 9/16” bolts in a star pattern (top, then bottom bolt, then opposite side top, then bottom) then repeat and firmly tighten, to ensure an even seal and prevent leaks. Note: becareful not to overtighten the bolts as you can pull the brass insert out of the housing by doing so. If this happens you will need to replace the housing.
Continue Reading...
All Articles